Monday, March 30, 2020

Joy Clair Stamps New Release: Go There and My Heart


Hello everyone,

I am so happy that I get to help introduce Joy Clair Stamps new release!  Today I am featuring Go There and My Heart releases.  These new stamps and digital downloads are amazing !  Let's check out Go There first.


For my first card, I chose the Jelly Bean Background Digital Download and the Go There Digital Download.  I printed both downloads on a laser printer and foiled them with my laminating machine.  I cut a 3 3/4" square from the foiled Jelly Bean Background download and placed it on a piece of black card stock cut to 3 7/8 " ( or just big enough to add a small frame around the background). I fancy cut the cow and sentiments out and used pop dots to place them on the background.  I used Nuvo  Dream Drops Gold Lux on the necklace and set it aside to dry.  After it was dry, I used a liquid glue and adhered it to a gold glitter card base which I cut to a 4"x 4" square.


My second project using the Go Happy Digital Download is a bookmark. I chose an ink smooshed background from my stash and cut it into a 2 1/2" x 5 1/2" piece.  Next I cut a piece of kraft card stock to the same measurements. I glued these two pieces together.  I cut angles on the top of the bookmark and punched a hole in the center top with a hole punch.  I fussy cut the cow image and sentiment from the download and adhered them to the front of the bookmark.  I used Nuvo Crystal Drops (Violet Galaxy and Bubblegum Blush) to accent the necklace.  I drew an edge around the whole piece with a black, thin-lined marker.  For the back I used the same marker and wrote "Just a note..." and added the dotted lines. I used a purple piece of ribbon and looped it through the hole on top.  This would be fun to give to someone who is trying to catch up on their reading and they can add notes or are make a list of the books they read on the back.


My next cards feature  My Heart.
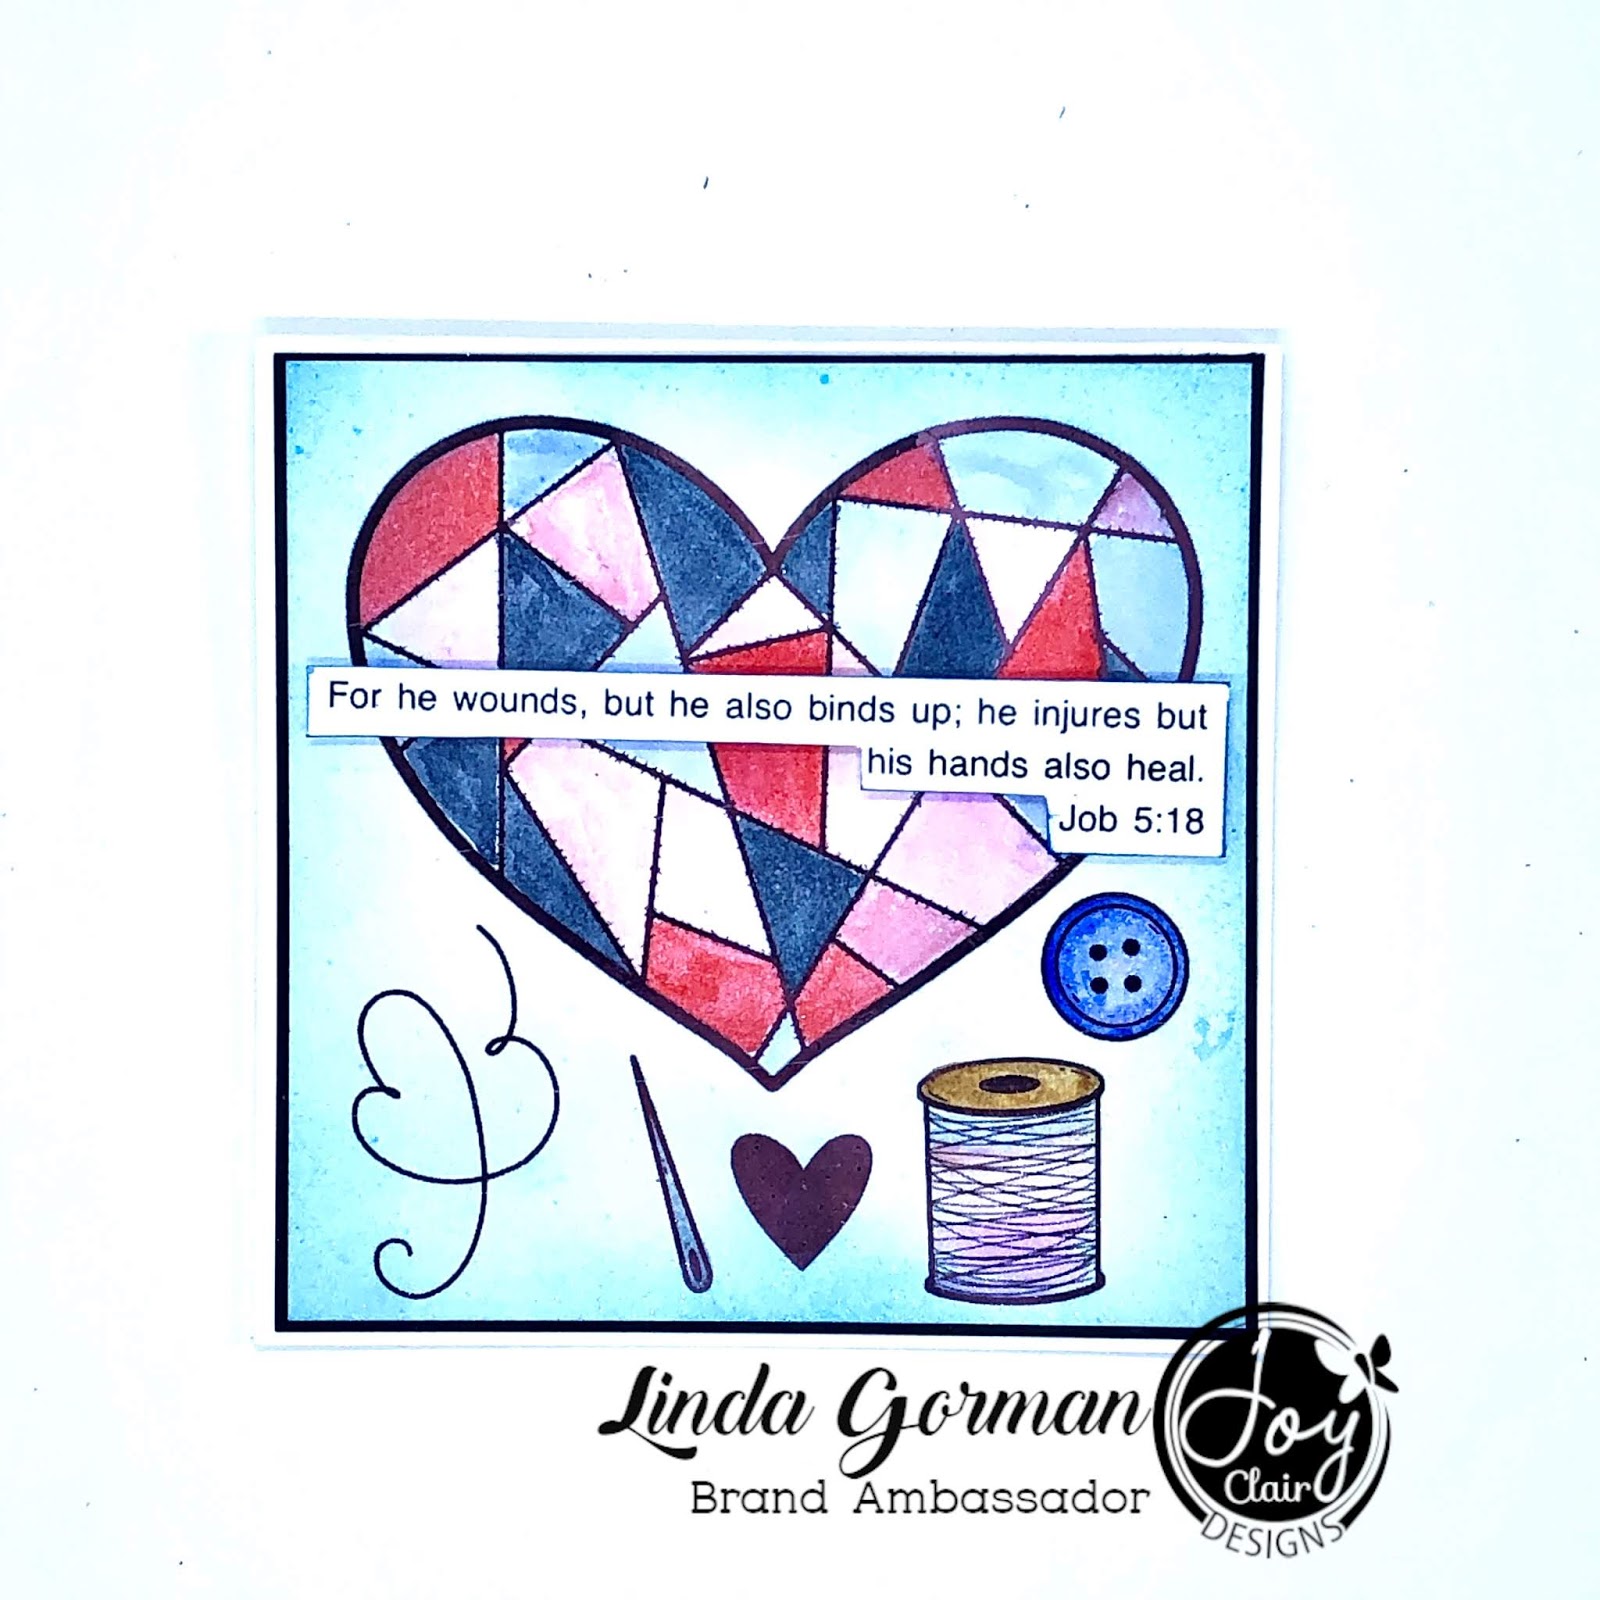
I decided to make this a square card also.  I first cut the card base out of a piece of white card stock measuring 8 1/2" x 4 1/4" , scoring at 4 1/4 " on the 8 1/2" side and folding it into a 4 1/4" square card base.  I cut  a 4" square from the digital download which included all the above images except the sentiment.  I foiled all the images with a pink foil and then colored them with watercolor markers.  I used Zig Clean Real Brush markers but you could use any markers or colored pencils in your stash. After the background was colored, I sprayed it with a sparkle spray and adhered it to a 4 1/8" square piece of black card stock..  I adhered that to the white card base.  I cut out the sentiment and popped it up with foam strips and placed it on the card. 


My second card is an A2 card (5 1/2" by 4 1/4").  I cut a piece of white card stock measuring  5 1/2" x 8 1/2", scored at 4 1/4 on the 8 1/2" side, and folded to make the A2 card base.  I  watercolored a piece of white card stock using a variety of pink inks and die cut it with Gina Marie Designs Loopy Frame die.  I adhered that to a piece of black card stock cut to 4" x 51/4".  I enlarged the digital image on my computer before printing.  You could also take it to an office store and have them enlarge and laser print it.  I always take my own card stock to the office store, it makes it less expensive and you know what it is being printed on.  I fussy cut out the thread and needle and foiled them with pink foil.  I adhered them to my die cut piece.  I took a piece of twine and glued it to the card around the needle.  I didn't have a pink piece of twine so I used a pink ink pad to make the twine pink.  I cut out the sentiment , glued it to a piece of black card stock, and then cut around the sentiment, leaving a black frame.  I used foam strips to pop it up and adhered it to the die cut piece. I sprayed the piece with glitter spray and glued the entire piece to the white card base.


***The card stock I use to print my downloads on is 80lb Neenah Solar White.  Any layering weight card stock would work.***

The links to these products will be listed below.

To celebrate this new release, Joy Clair is giving away a $25 gift card valid for stamps only at Joy Clair Designs Store. We are offering our new release with a 20% OFF until April 5th. You don’t need to use a code. The prices are automatically reduced. In order to be entered to win, all you need to do is hop along with us and comment on each blog. Hoppers must comment on all stops along the way. Comments are due by 04/5/2020 at 11:59 PM EST. Winner will be announced on the Joy Clair Designs Blog on April 8th, 2020.  


Here is the list of names for the hop.


  • My Heart Clear Stamp Set    
  • My Heart Digital Stamp Set  
  • Thank you all for taking the time to stop on my blog.  If you have any questions about any of the projects, please leave a comment or email me at lindahpd.aol.com. I hope you all have a crafty day and STAY SAFE-STAY WELL during these challenging times.


    HAPPY CREATING!

    linda


    Sunday, September 2, 2018

    Winner of the Wild Blooms Digital Download


    Hello everyone,


    I wanted to thank each and everyone of you who took the time to join the RG Studio 360 Blog Hop and posted on my blog.  I used a random generator and the WINNER is:


    DONNA BLATZ!!!!

    Thank you so much for commenting, Donna, and I hope you enjoy the Wild Blooms download!


    I loved reading everyone's comments and it filled my heart to know you took the time to read my blog. I am sure there will be lots more blog hops in the near future and something special for National Card Making Day in October.  In the meantime, please keep following RG Studio 360 and all of the designers!  Here are the links again:


    Also make sure you check out Richard on the  RG Studio 360 Community Page.on Facebook.


    Thanks everyone!!!  Have a great day!!!  

    Create!!!
    linda

    Friday, August 24, 2018

    Celebrate with RG Studio 360!!! Make Amazing Happen!!!

    Hi Crafty Friends!

    Today is the DAY!  The RG Studio 360 new website launches today and we are having a great blog hop in honor of the new opening.  Each Studio 360 Designer on the blog hop will be giving away their own personal favorite digital download to one lucky winner who posts a comment on their blog. So there will be lots of chances to win.


    Today's blog hop features the "Foxy Fall" digital download and it is SO CUTE!  I have completed two cards using this digital download. You should have arrived here from Michelle's YouTube video and to continue, you will go to Melinda's post next.  If you get lost on the way, a full list is at the bottom of this post or go to RG Shares.


    My first card is a landscape fold A2 card featuring two Foxy Fall characters.


    I created the background of this card using a 4 1/4 x 5 1/2 piece of white 80lb card stock.  I used the ink smooshing technique by inking an acrylic block with green, yellow, and blue inks then spritzing it with water.  I placed the card stock on the block, let it soak up all the color until I liked the results, and set it aside to dry.  I fussy cut the two foxes from the download along with the arrows and colored them with Copic Markers, but any coloring medium would work perfectly. I used a rectangle die to cut the background piece to 4 x 5 1/4 and adhered the two foxes using foam tape to pop them out.  The arrows were placed directly on the background. I also used foam tape on the sentiment and inked the edges of it.  I adhered the background piece to a slightly larger piece of green card stock and glued this to an A2 white card base folded using the landscape mode.  After the card was assembled, a clear glaze was placed on the foxes and the arrows.  I used decorative drops to accent the background. 


    My second card is a portrait A2 card featuring a bear with a wobble element.


    I created the background of this card using the ink blending technique with red, orange, and yellow inks on a 4 x 5 1/2 piece of white 80lb card stock.  I splattered the background with water after it had been inked and let it dry.  I die cut the background using a postage edged die. I colored the cute bear from the download and made extra copies of the download to get twelve leaves and colored them.  I fussy cut the bear and leaves and adhered the leaves to the background.  I used a piece of twine to add interest behind the fox.  The bear was placed on a wobble mechanism and put in the center of the leaves.  Glaze was added to the purple headdress.  The sentiment was adhered at the top of the card. As a finishing touch,  decorative drops were added to the background.


    Here is the list of links for everyone that is part of the RG Studio Blog Hop celebrating the launch of the brand spanking new website.., if you get lost please return to 
    RG Shares.


    Michelle Saddler Arrue
    *please note this is a youtube link, check the comments to go to the next link!

    Linda Gorman-You are here.


    Thanks so much for hopping along with us and celebrating the new website!!! Subscribe to the newsletter to keep up with RG & the Team and remember to comment on each blog for the possibility of winning a free download from each designer.


    "Foxy Fall" is an adorable digital download that can be used all year long!  I love all of the digital downloads but my very favorite is "Wild Blooms".  It is so easy to color and looks professional every time.  Make sure you comment on this blog post and you might be the lucky winner of "Wild Blooms".  All winners will be announced by the end of the month. Pictures of both the downloads can be found at the bottom of this post.


    I hope you enjoyed my cards.  If you have any questions, please feel free to ask in the comments or email me at lindahpd@aol.  Thank you so much for taking the time to hop along with us.  Please make sure you visit the new website and check out the the RG Studio Community Page on Facebook.


    Stay Crafty and Make Amazing Happen!
    linda

    Saturday, March 31, 2018

    Happy Spring

    Hi everyone,

    I hope everyone is ready for Easter tomorrow.   I have been busy the past few weeks with the RG Studio Design Team and classes.  I also have gotten a cold from my granddaughter twice in the last 3 weeks, so that has slowed me down a little.

    I made a few Easter cards and some table decorations I wanted to share.  All the designs I used for these projects can be found at www.rgstudio360.com.

    My first two projects are fun Easter cards featuring my granddaughter.  I used the Easter Rabbit Exclusive Digital Download and the Sketched Frames Exclusive Digital Download for both of these cards.


    My next project is my table centerpiece.  It was quick and easy.  I placed my battery operated candles on my cake pedestal, poured jelly beans around them, and decorated them with belly bands I made using the Easter Rabbit Digital Download.


    Place card holders for the Easter table were my last project. I had some left over Easter grass and used that!


     Those were my Easter projects for this year.  You could also use them for any Happy Spring celebrations too!  

    I hope all of you have a glorious day tomorrow.  Enjoy your time with family and friends.  More projects and posts coming shortly.  Thank you for taking time to check my blog. If you have any questions, please feel free to comment below or at my email, lindahpd@aol.   

    Happy Paper Crafting,

    Linda


    Wednesday, March 14, 2018

    I Made It! RG Studio 360 Design Team

    Hi everyone,

    I am so excited, honored, and proud to be part of the RG Studio 360 Design Team.  I feel privileged to be a part of this group of  talented, creative women..  Richard Garay made the announcement last Saturday. I checked with our coordinator and was given the okay to display my entry projects.  

    To apply for the team, we had to submit one card, one gift, and either a memory page or planner page. 

     My first submission is my card.  I used the "Make a Splash" digital download from the first card club kit.  This download will be available for purchase shortly.  The Card Club downloads are exclusive for period of time.  Please check out the Card Club for this month's purchase. 


    My second submission is an 8 x 6 memory page.  I used the "So Loved" digital download for this project. And of course it features my granddaughter, Dacey.  I love the dangled hearts and foil on this project.


    My last project is my gift project.  I used a frame I had in my stash.  I foiled and painted it.  I then used the "Winter Rose" digital download for the flowers on my project.  I love the pink and how it frames the saying.  


    I loved making these projects.  Richard's digital downloads are amazing.  Each download comes in three formats, plain, outlined for easy machine cutting, and mini images. And you get all three!!!  How fun!
    RG Studio 360 also offers at least 1 FREE digital download each month.  I used the FREE March digital download to make this card.


    RG Studio 360 will be carrying more crafty supplies in the near future.  To keep informed on the latest happenings please join the RG Studio 360 Facebook group and/or follow RG Studio 360 on Instagram.

    Here is a picture of all the great people that I will be working with along with Richard and his staff to Make Amazing Happen.


    Another quick update.  FREE digital download and FREE virtual class is available on RG Studio 360 called "Make Waves".  Sign up and get the downloads and the link to the class on March 24th.  

    I would like to thank everyone for taking the time to check out my blog.  If you have any questions or comments, leave them below or email me at lindahpd@aol.  

    Have a great week!!!!

    Happy Crafting,

    linda

    Tuesday, March 6, 2018

    Box Cards and More

    Hello,

    I hope everyone had a great week.  Time is certainly speeding by!!!  Last week I worked on finishing an order for a friend and also discovered how to make a box card.

    The first card in the post is the order I had to finish.  My customer wanted a card for her sister with cats on it  I made an 5 x 7 card using the eclipse technique.  I love the way it turned out.


    The next two cards are box cards that I learned how to make from a tutorial by Maymay Helms on the maymaymadeit.com website.  Maymay made it so easy to follow and I love how they turned out.


    This first card used products from Catherine Pooler Designs.  I love the butterflies and the spring feeling it gives.


    This card I made for a very special person who loves pink and it going through some rough medical issues now.  I also made matching box envelopes for each card.

    It is always fun trying a new technique especially when you love how it turns out!

    I am so glad you took the time to check out my blog.  If you have any questions or comments, you can comment here or on my email at lindahpd.aol.  I would love to hear from you.

    Just a quick update, my projects were all submitted to RGStudio360 for the design team and the team should be announced by the middle of March.  Please be sure to check RGStudio360 on Facebook and at his new website. He has some amazing digital downloads and some are free!!!

    I hope everyone has a great week!  Don't forget the time changes this weekend.  SPRING AHEAD

    Happy Creating,

    linda


    Tuesday, February 27, 2018

    Random Acts of Kindness

    Hi Everyone,

    I missed posting yesterday because it was such a sunny, beautiful day here in northern Ohio.  It is even better today, so Arthur, my dog, and I will be headed outside shortly.

    Last week I made 16 animal sympathy cards.  I had to put my mom's Dachshund down.  I had had Bingo since my mom died six years ago.  He was 16 years old and couldn't walk anymore.  He is now running wild with my mom and dad!    Anyway, this started me thinking what a hard job the people had who took care of the animals and how hard for the families suffering their loss.  I made the cards below and donated them to people to give out to the families who lost their pets.  


    I also worked on some projects for a design team application.  I will post pictures of those projects next week after the deadline for the design team is over.  I am keeping my fingers crossed.  It would be great fun to be on the design team for RG Studio 360.    

    I hope everyone has a great crafty week ahead!  I can't believe March will be here day after tomorrow.  WOW!!!!

    Thank you for taking time to check my blog.  Remember, if you have any questions or comments, please leave them below or contact me at lindahpd.aol

    Happy Creating!!!

    linda
     

    Monday, February 19, 2018

    New Cards

    Hello,

    It has been over one year since I have written in my blog.  Life has held many changes for me in that time, but I have still been following my passion of card making and crafty goodness.  This past weekend, a friend and I had a virtual card making challenge to use new things we had not used yet.
    What fun!!  My friend, Kathy, also inspired me to start writing in my blog again.  So as of today, I will be posting my cards and crafty accomplishments weekly on every Monday.

    Here are pictures of the cards I made this weekend.  I used the WISH Die and Gift Card Greetings from My Favorite Things, the Layered Rose Die from Altenew, foil glue from Richard Garay, and lots of stamps, dies, and inks from Catherine Pooler's new Zen Garden release.  The products I used from Catherine Pooler are the new Zen Collection Inks, Doodle Garden Background Stamp, Stained Glass Cover Plate, Faithful Flutterings Stamp Set, and Zen Feather Stamp Set.


    I would like to thank my friend, Kathy, for the inspiration to start blogging again.  Kathy just started a new blog.  Please check it out.

    I would like to thank everyone for stopping by and taking the time to look at my creations.  If you have any questions or comments, please contact me at lindahpd@aol.  Make sure to stop back next Monday for more fun cards.

    Have a great week!

    Happy Card Making and Crafting!

    linda

    Thursday, November 3, 2016

    MIO Compadres November Thanksgiving/Fall Autumn Breeze Hop


    Hi everyone and welcome to the MIO Compadres November Autumn Breeze Hop.  This month is all about Thanksgiving and Fall. We have lots of great projects to get you in a creative mood!  You should have arrived here from Jasmine's blog, if not, please click the Previous Button below and check out her great creations.


    For my first card I used Fun Stampers Journey stamps, dies, and splashes.


    I started with a white piece of card stock that is 3 3/4 inches by 5 inches.  I placed the paper in a box and then sprayed it with FSJ Journey Splashes Sweet Berry, Pineapple Smoothie, Citrus Cooler, and Shimmer Gold.  I used my heat gun to dry the paper faster.  I cut the turkey using FSJ Holiday Box Window Plates Die set and the  leaves using the FSJ Thxgiving Die set from gold glitter paper.  I placed these on my card stock and used a pop dot on one of the leaves to make it pop. I used a brown marker to color in the turkey.  I stamped the sentiment from FSJ Thanksgiving Medley stamp set with black ink. I adhered my stamped paper to a black piece of card stock measuring 4 inches by 5 1/4 inches.  I then placed this on a decorative piece of paper that was just smaller then the card base.  The card base is an A2 base from craft card stock.  I glued some copper colored sequins to finish the card.  I love the watercolor effect that you get from the splashes.  Make sure you spray in a confined area or it can get all over.


    My second project is a tag using Julie Nutting's doll stamp "Collette" and some leaves I picked up at Dollar Tree.  


    I stamped the "Collette" stamp onto white card stock with black Memento Ink and colored it with my Copic Markers.  I stamped the doll coat on a piece of gold swirled decorative paper.  I fancy cut the doll and jacket out.  I glued the jacket to the doll.  I cut an 8 inch tag out of heavy card stock and then covered the front and back with decorative paper.  I punched a hole in the top for the ribbon.  I used VersaMark Ink on the sentiment and heat embossed it using gold embossing powder.  The sentiment is from the stamping bella
    "Casey has a cornucopia" stamp set.  I adhered the doll to the tag and layered leaves  with a liquid adhesive into a skirt.  I used pop dots on the sentiment.  I placed a gold piece of string through the top and the tag was completed.  I used this card for a tag swap and the recipient loved it!!!!

    I hope you enjoyed my Autumn Breeze projects.   If you have any questions regarding the cards or Fun Stampers Journey, please comment below or email me at lindahpd@aol.

    Next stop on the Autumn Breeze Hop is Lisa's Blog.  Click on the "Next" button to check out all her great projects.


    Please make sure you have looked at all of our creations.  If you have missed anyone the list is below.  


    1. Laura 

    4. Linda Gorman-You are Here

    5. Lisa 


    We have a great prize giveaway listed in the picture below. All you have to do is comment on everyone's blog for a chance to win! The giveaway closes on November 17 2016 and the winner will be announced on November 21, 2016.  Good Luck!


    Thank you so much for hopping with the MIO Compadres!!! I hope you enjoyed all the creations and got some inspiration from all of our projects.

    I am thankful for all of my crafty friends!  


    linda